
Last updated November 15, 2026
 Wrought iron
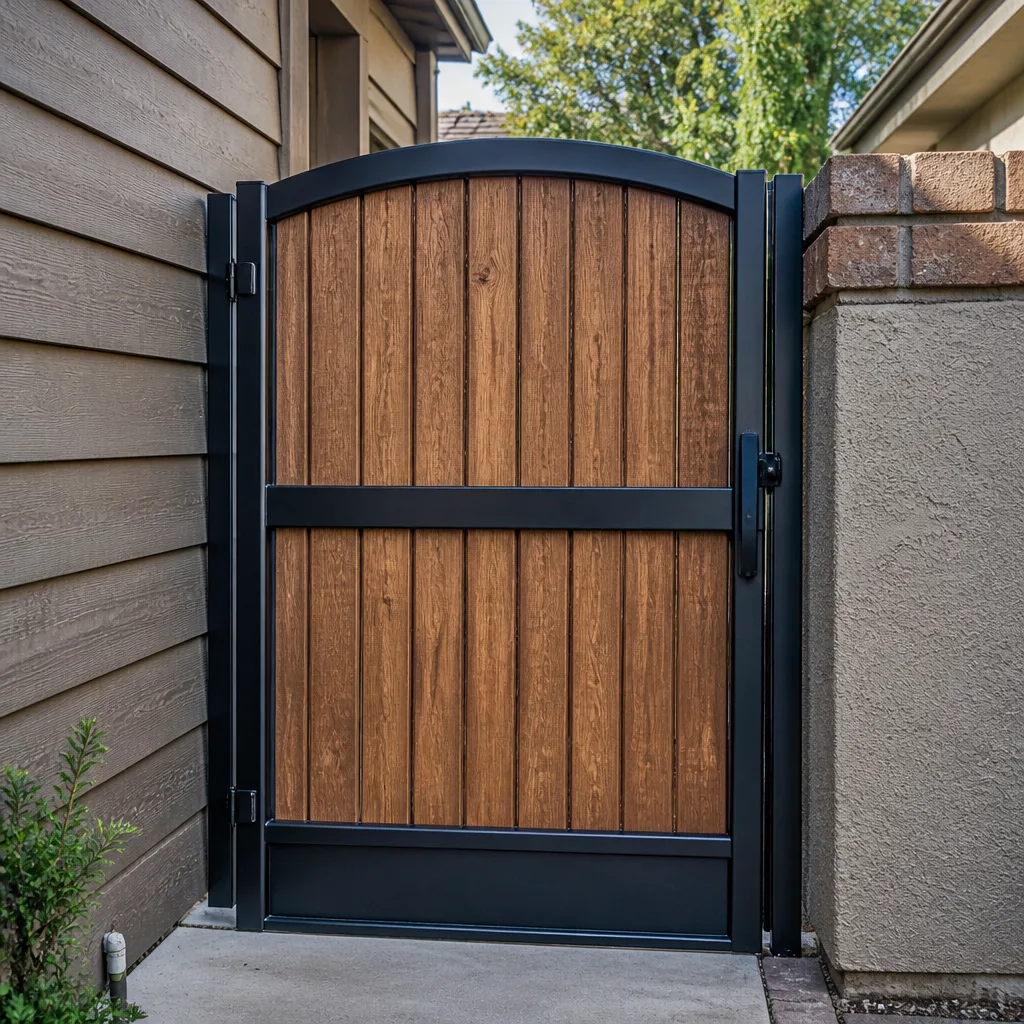 Wood & steel frame
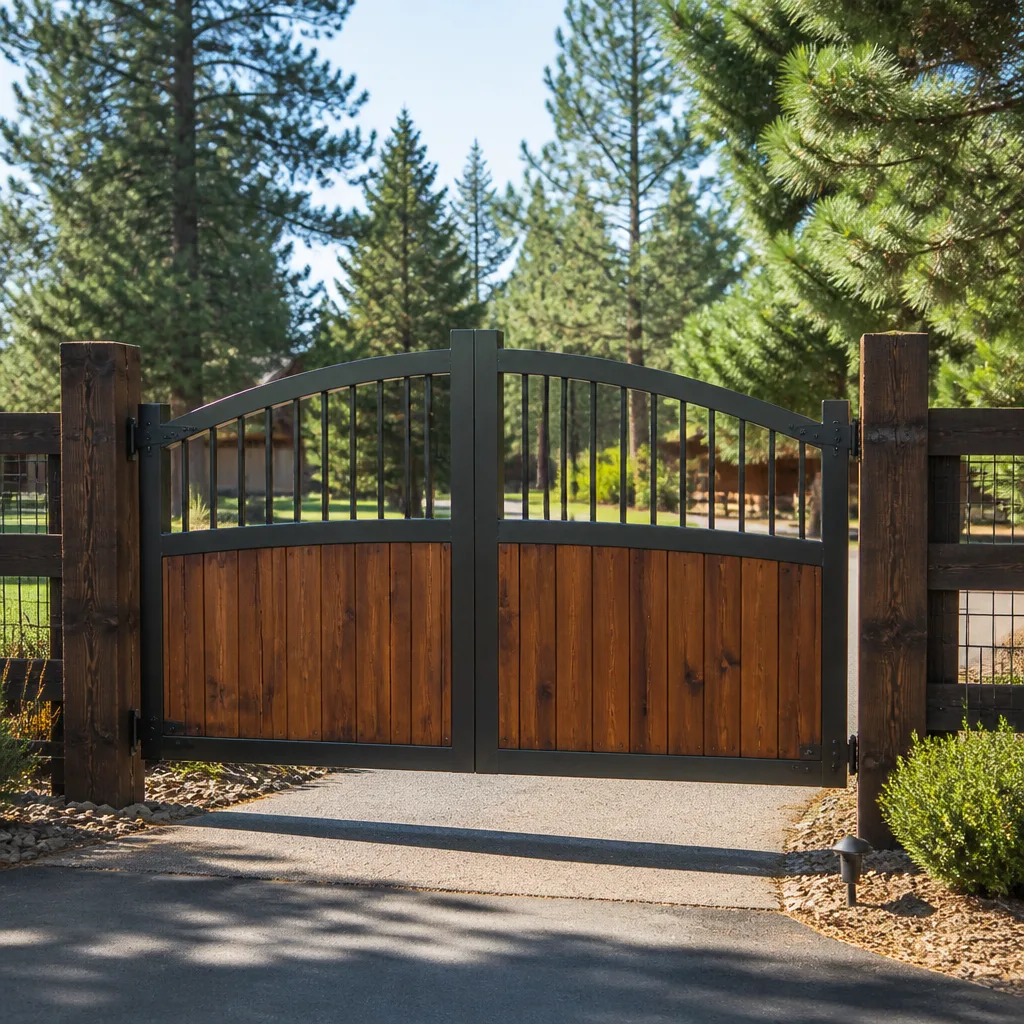 Farm & ranch
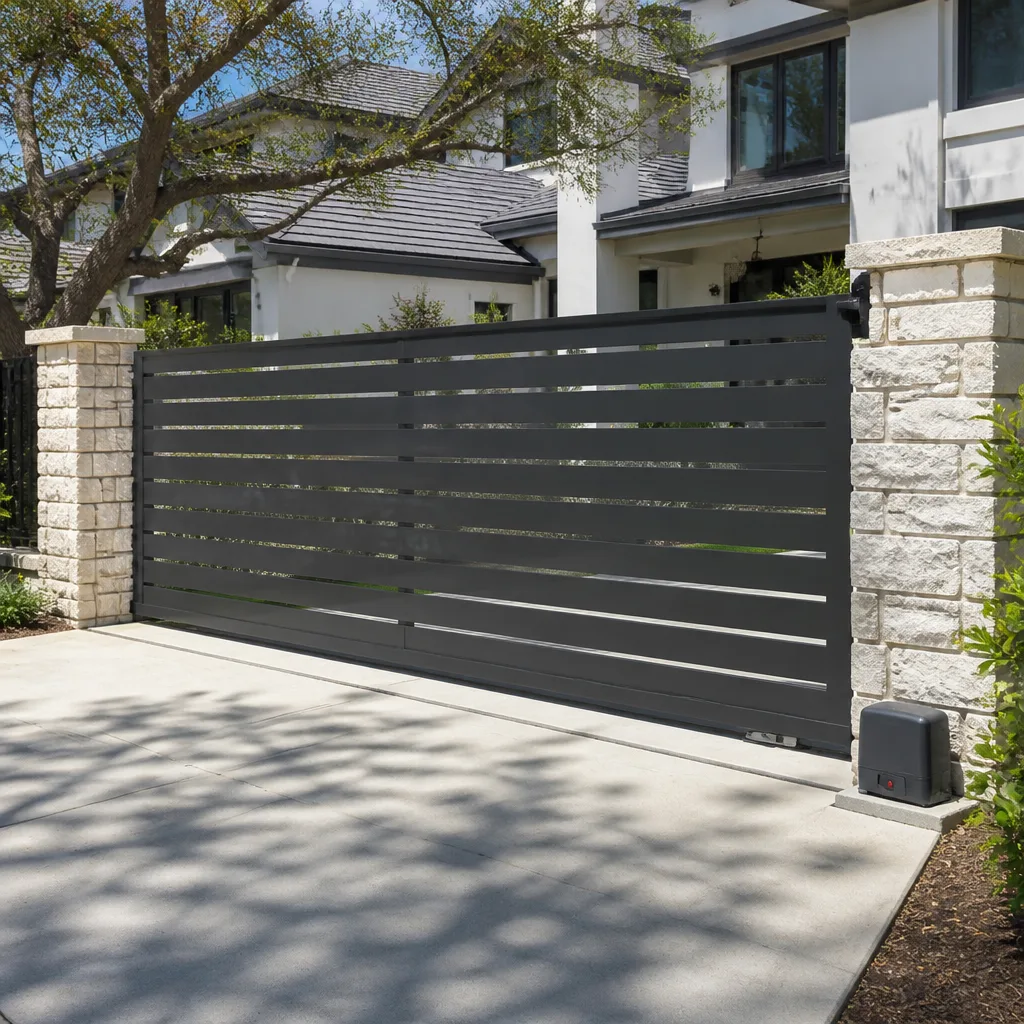 Sliding driveway gates
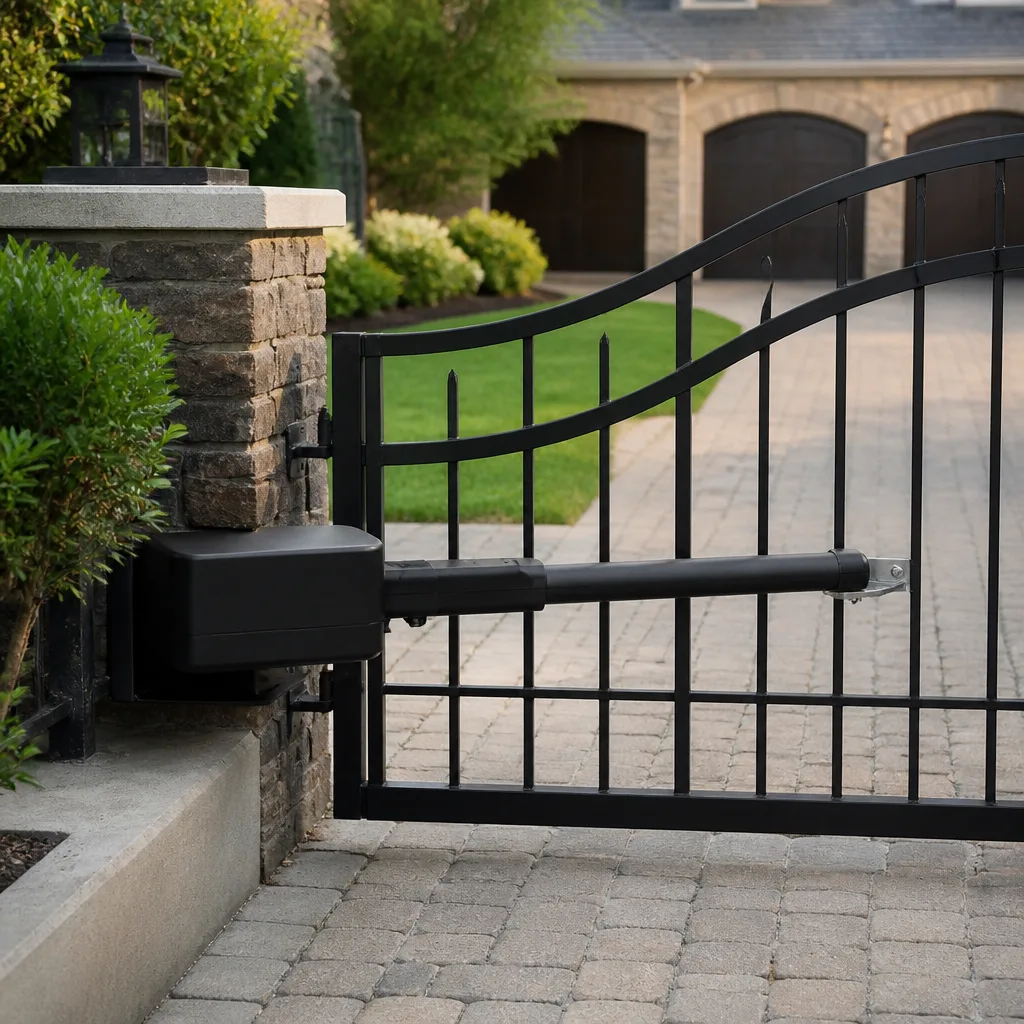 LiftMaster operators
Free on-site gate assessment - hinges, posts, and your LiftMaster or Nice gate operator checked before anything is quoted
The assessment is free and the quote is the invoice.
Get your free estimateGate Repair Warning Signs: A Jersey City Homeowner’s Reference Guide
Most gate advice treats every odd noise the same way: call someone. That’s not useful, because a squeak and a sagging hinge post are not the same problem, and treating them the same either wastes money or invites a collapse. A gate rarely fails without warning. It tells you it’s failing, often for weeks, through sound, movement and behavior. The skill is reading those signals and knowing which ones mean “keep an eye on it” and which mean “stop using the gate before someone gets hurt.” This guide sorts the warning signs we see around Jersey City into three urgency tiers, so you can judge a symptom instead of guessing at it.
Quick Answer
Gate repair warning signs fall into three urgency tiers. Tier 1 (monitor) covers cosmetic and minor issues like squeaks, faded finish and slight noise. Tier 2 (schedule soon) covers grinding, slow travel, sagging panels and inconsistent stopping points that will get worse and cost more if ignored. Tier 3 (stop using the gate now) covers a leaning post, a gate off its track, sparking wiring, a gate that reverses on its own, or any panel that moves under its own weight. If a sign is in Tier 3, close the gate and call a technician before you operate it again.
Styles & brands we work with
- Wrought iron
- Wood & steel frame
- Farm & ranch
- Sliding driveway gates
- LiftMaster operators
Table of Contents
- The Three Urgency Tiers Every Gate Symptom Falls Into
- Tier 1: Cosmetic and Monitor Signs
- Tier 2: Signs That Mean Schedule Repair Soon
- Tier 3: Stop Using the Gate Now
- Automated Gate Warning Signs You See in Behavior First
- Structural Warning Signs in Jersey City’s Masonry-Mounted Gates
- A Gate That Sounds Bad vs. One That Looks Fine
- How to Photograph and Describe a Problem Before You Call
The Three Urgency Tiers Every Gate Symptom Falls Into
Every gate problem a Jersey City homeowner describes to us fits into one of three buckets, and the bucket tells you what to do next. The bucket is not about how loud the problem is. It’s about what happens if the part fails while the gate is moving, and whether the failure is happening now or is just likely to happen later.
Here’s the framework we use when we walk up to a gate:
- Tier 1 – Monitor. The gate still opens and closes reliably. The issue is cosmetic, minor or a slow trend. You watch it and note changes.
- Tier 2 – Schedule soon. Something is wearing or drifting out of adjustment. The gate works, but every cycle makes the wear worse, and the repair cost grows with time.
- Tier 3 – Stop using the gate. A part could fail during travel and let the gate fall, swing free, jump the track or shock someone. Close it manually if you safely can and call a technician.
The mistake people make is treating a Tier 2 sign like a Tier 1 sign, which turns it into a Tier 3 problem. A grinding noise is the classic example. In a Jersey City gate, grinding usually means a bearing, hinge or roller is failing. Left alone, that failing part starts wearing the track, the post or the operator’s drive components around it, and a small repair quietly becomes a structural one. The grinding is a bill being written.
The other mistake is the reverse: treating a Tier 1 squeak like a crisis and paying for an emergency call when a routine visit would have covered it alongside the real issue. Getting the tier right is what saves both money and worry. If you’re not sure which tier a symptom is in, that’s the moment to describe it to someone who works on gates every day rather than guessing.
Tier 1: Cosmetic and Monitor Signs
Tier 1 signs are the ones you write down and check again in a couple of weeks. None of them affect whether the gate operates safely today. They’re the early-warning layer, and keeping an eye on them is how you catch a Tier 2 problem before it moves up.
What belongs in Tier 1:
- A light squeak or squeal at a hinge or roller that comes and goes, with no change in how the gate moves.
- Faded paint, rust spots or peeling finish on the frame. Cosmetic unless the metal underneath is thinning.
- A gate that sits a hair off-center in the closed position but still latches and locks properly.
- A remote that occasionally needs a second press, with no other change in range or behavior.
- Slightly stiff manual operation on a swing gate in cold weather that frees up as the gate is used.
The key test for Tier 1 is change over time. A squeak you’ve heard for a year and that hasn’t gotten louder or changed pitch is stable. A squeak that’s been getting worse each week is drifting into Tier 2, because “worse every week” is the definition of wear in progress. As a Jersey City gate passes through wet winters and hot, humid summers, hinges and rollers go through real expansion and contraction cycles, and a hinge that’s fine in July can bind in January. That seasonal pattern makes it worth re-checking Tier 1 items each season, not just once.
Nothing in Tier 1 needs an urgent call. Note what you’re seeing, snap a photo so you have a baseline, and when you do book a technician for anything else, mention these items so they can be checked in the same visit.
Tier 2: Signs That Mean Schedule Repair Soon
Tier 2 is the most important tier to recognize, because it’s the one where a homeowner’s decision actually changes the price. These are problems that are working but are actively degrading. The gate still functions; every cycle is doing damage.
Signs that belong in Tier 2:
- Grinding, scraping or a rhythmic clunk during travel. Usually a bearing, hinge, roller or track alignment issue.
- The gate drags or hesitates at one specific point in its swing or slide, then moves normally.
- A visible sag in the gate panel or a gap that’s growing at the latch side.
- A gate that’s gotten harder to open by hand over several weeks.
- A manual latch or lock that takes more force to engage than it used to.
- Paint or rust failing at a weld or joint, which often means the joint is flexing.
We see a lot of Jersey City Tier 2 problems on gates that get frequent use, like a driveway gate on a property with several units, or a pedestrian gate used constantly by tenants. Friction builds, the operator works harder, and the strain spreads to parts that weren’t designed to take it. It’s the same reason a powered gate that struggles will eventually hurt its own motor: the motor isn’t the problem, but it becomes the casualty.
The urgency here is “soon,” not “today.” Book a diagnostic visit, and be honest about how long the symptom has been going on. If you can say “six weeks, getting louder,” the technician arrives knowing roughly what to expect. For a deeper look at what a full repair visit involves, our gate repair page walks through the process. If the noise is coming from a motorized system, that’s a separate diagnosis, which we cover on our electric gate repair page.
Tier 3: Stop Using the Gate Now
Tier 3 signs mean the gate could fail while it’s moving, and a falling gate or a live wire is not a “next week” problem. If you see any of these, stop operating the gate. Close it safely by hand if you can do so without putting yourself in the path of a panel or a moving part, keep people and vehicles clear, and call a technician.
Tier 3 signs, treat as hard stops:
- A gate post that is leaning or visibly shifting. The concrete or anchor holding the post has failed or the post is rotting at the base.
- A gate off its track, hanging from a track, or with rollers out of the track channel.
- A panel or leaf that moves under its own weight when you push on it, or a hinge that’s pulling out of the gate.
- Sparking, buzzing, burning smells or visible damage at the operator’s wiring, control box or power source.
- A gate that reverses, stops short or starts on its own. A powered gate that moves without command is a safety hazard, not just an inconvenience.
- A safety sensor or safety edge that isn’t working on an automated gate. A gate that doesn’t detect an obstruction should not run unattended.
On the electrical side, we don’t give step-by-step troubleshooting, and we won’t. Mains power, motor wiring and controls can hurt or kill someone who doesn’t know the system. The same goes for heavy gate panels and slide gates that can come off their tracks: a panel that weighs more than a person and swings or slides under motor power is not a component to work around. A trained technician working on an electric gate is the safe path, full stop.
Tier 3 problems are the ones where the phrase “gate repair Jersey City” gets searched in a hurry, usually after the gate has already stopped working. The better outcome is to catch the same problem in Tier 1 or Tier 2, when the gate is still usable and the fix is smaller. For property managers or landlords with more than one gate in Jersey City, it helps to have someone inspect the gates before they hit Tier 3; see our gate repair Jersey City service overview for what that looks like.
Automated Gate Warning Signs You See in Behavior First
Powered gates fail in a distinct order. The electronic and motor side usually shows symptoms in behavior long before anything looks wrong on the outside. This is why a gate can look perfectly normal and still be an automation problem you should schedule. If you know the behaviors to watch, you get weeks of warning.
Behavioral signs on an automated gate:
- Slower travel. The gate takes longer to open or close than it did a month ago. Common causes are motor strain from a tight hinge, a failing control board, or a battery or capacitor issue in the operator.
- Inconsistent stopping points. The gate stops an inch or two short of fully closed, or overshoots and reverses. That’s a limit-switch, sensor or controller problem. This one is a Tier 3 item if the gate can reverse into a person or a car.
- Reduced remote range. You have to get closer to the gate to trigger it, or it works sometimes and not others. Antenna, receiver or wiring interference.
- Erratic behavior after a power event. The gate cycles oddly, opens on its own, or won’t respond after a storm or an outage.
- Stalling mid-cycle. The gate stops partway, often at the same spot. It’s either a mechanical bind or a control problem, and you need a technician on site to tell the difference.
Here’s where brand knowledge matters. LiftMaster, FAAC, BFT and Linear operators each have their own diagnostic patterns, error signals and known failure points. An operator that behaves oddly after a power event may need a control-board reset; a different brand may need a limit-switch recalibration. A technician who works across these systems recognizes the pattern faster, but no one should be diagnosing it from behavior alone. The point of the behavior list is to tell you when to stop using the gate and get it looked at, not to self-diagnose the fix. In our experience, the gates that get repaired once and stay repaired are the ones where the technician could see the right symptom at the right time, and the homeowner described it accurately. That leads to the next section.
Structural Warning Signs in Jersey City’s Masonry-Mounted Gates
Jersey City has a large stock of brownstone and masonry buildings, and many gates here are mounted to masonry piers, brick columns or stone stoops rather than a simple wooden or metal post. That mounting is the part most people overlook, because the gate itself looks fine while the masonry and anchors that hold it are quietly failing.
Structural signs specific to masonry-mounted gates:
- Cracks in the mortar or brick around a hinge anchor. A hairline is worth watching. A crack that’s widening, or powder falling out of the joint, means the anchor is loaded and the masonry is giving.
- Loose hinge anchors. Rock the gate gently at the hinge side. If the anchor plate shifts, the bolts are loose or the brick is failing behind them.
- A gap opening between the pier and the wall the gate is attached to. This is structural movement, not a gate adjustment.
- Brick or stone spalling or crumbling at the base of a pier, especially where the gate meets the ground.
- A pier that’s leaning even slightly. A leaning pier with a gate mounted to it loads the anchors unevenly, and a heavy masonry pier that gives way is a serious safety event.
We can repair the gate hardware. But if the masonry itself is failing, that’s a job for a mason, and knowing the difference is part of an honest diagnosis. A good gate specialist will tell you when the gate isn’t the problem. Catching a darkening crack in a Jersey City pier early is far cheaper than repairing masonry after a gate has pulled away from it.
A Gate That Sounds Bad vs. One That Looks Fine
Sound and appearance don’t reliably tell you how serious a gate problem is, and that’s why we don’t go by them alone. The gate that sounds the worst is often mechanically safe, and the gate that looks perfect is sometimes the one to stop using.
A gate that sounds bad is usually a friction problem. A squealing hinge, a rattling roller, a rhythmic creak at one point in the swing. Annoying, and it should be fixed before the wear spreads, but it’s a Tier 1 or early Tier 2 problem. The sound tells you where the friction is. That’s genuinely useful information. The fact that it’s loud doesn’t mean it’s dangerous.
A gate that looks fine but isn’t could have any of the following:
- A failing anchor hidden behind a hinge plate or inside a post sleeve.
- A control board or motor in an automated gate that’s drifting and could reverse into a person or a vehicle.
- A safety edge or sensor that hasn’t been tested and doesn’t work.
- Wiring that’s weathering, chafing or loose under a cover.
The lesson: don’t judge a gate by sound alone, and don’t assume a quiet gate is safe. On an automated gate, test the safety feature by putting a blocking object in the gate’s path while it’s moving (with a second person watching the controls) and confirming it stops and reverses. If it doesn’t, that’s a Tier 3 stop. On a manual gate, check that the hinges and anchors are solid and that the gate doesn’t sag. Neither test replaces a real inspection, but testing the safety feature is the single most important check a homeowner can do on any powered gate. The specialists who work gates daily, whether in a LiftMaster operator or a manual gate with a stubborn hinge, rely on the same principle: a gate is safe when the mechanics and the controls both do what they’re supposed to. Sound is the least of it.
How to Photograph and Describe a Problem Before You Call
A few clear photos and a description of what the gate does is worth ten minutes on the phone. When calling for a repair, the goal is to arrive with the right parts and the right tools on the first visit, so the gate gets fixed in one trip. That depends on how well the problem is described.
The photos to take, in order:
- The whole gate from a few steps back, open position and closed position, so the layout is clear.
- A close-up of the problem area (hinge, roller, track, motor, control box) from about arm’s length.
- The top and bottom of a post or pier where the gate meets its mounting.
- The operator or motor on an automated gate, including any brand nameplate or model label visible on it.
- The control box and any visible wiring, without opening anything or touching anything electrical.
Then write down, in plain terms:
- What the gate actually does wrong (“grinds on the way open, worse on the last foot”).
- When it started, and whether it’s getting worse.
- Whether it’s a swing gate or a slide gate, manual or powered.
- The brand of the operator if you know it (FAAC, BFT, Linear, LiftMaster, and so on).
- Whether the gate is stuck or whether it still runs.
That last point is the tier question. If the gate still runs, give us the description and a title. If it’s a Tier 3 problem, don’t run it. Either way, a good technician can give a much more useful first assessment from a clear photo and a specific description than from “my gate is broken.” If you’re not sure whether a symptom needs a visit, call and describe it. We’d rather help you sort out a Tier 1 squeak from a Tier 3 hazard than have you wait on a slow fix that goes bad. Our Jersey City team works on gates across the city.
Common Mistakes to Avoid
- Ignoring a grind because the gate still works. A grinding gate is a working gate doing additional damage every cycle. Fixing the bearing or hinge now is the small repair; waiting converts it into a track, post or operator job.
- Lubing a stuck hinge to buy time. Lubricant can often make a failing hinge or roller feel smooth for a few weeks, then it binds harder. If a hinge binds, it needs diagnosis, not just oil.
- Testing an automated gate’s safety feature by standing in front of it. Never test a gate’s reversal with a person or a pet in its path. Use a blocking object, and have a second person running the controls.
- Assuming loud means dangerous. A squeak can wait a week; a post leaning half an inch cannot. Judge the gate by the signs, not the volume.
- Assuming quiet means safe. A gate that moves smoothly but reverses inconsistently is a Tier 3 hazard. Test the safety feature on a powered gate, and don’t assume a silent gate is sound.
- Working on the electrical side of a powered gate yourself. Motor, control box and mains wiring can hurt or kill someone. Leave it to a trained technician who works on electric gates.
- Describing the problem in one word. “Broken” doesn’t tell a technician which parts to bring. A photo, the brand, the symptom and when it started gets the gate fixed in one trip instead of two.
See the difference
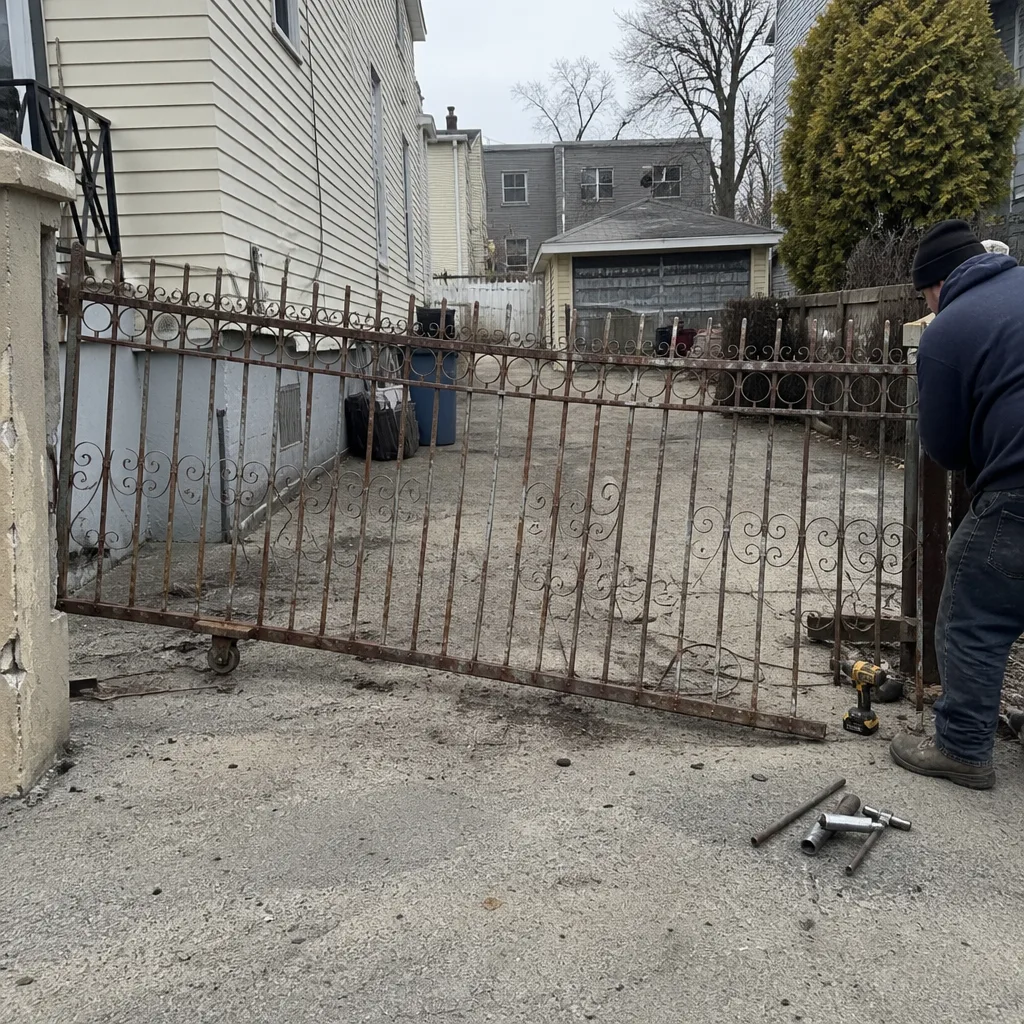 Before
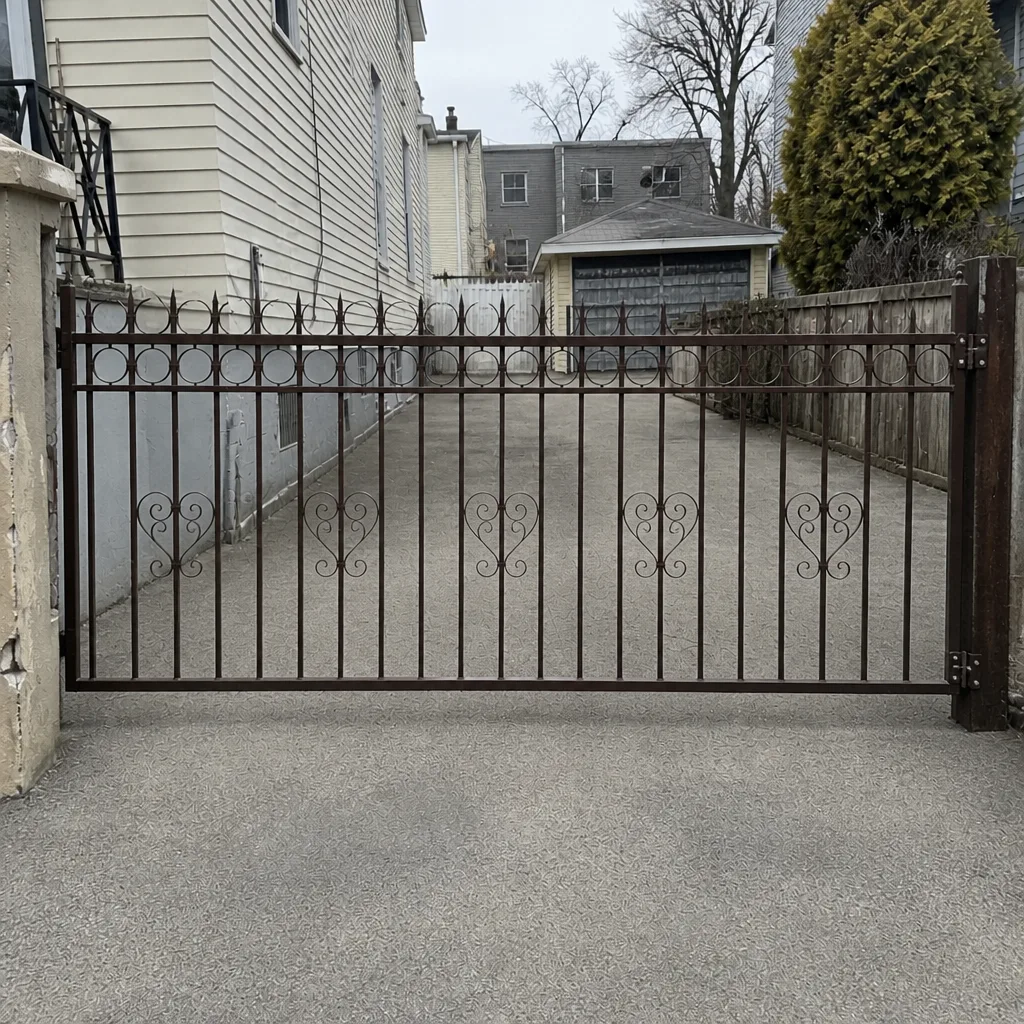 After
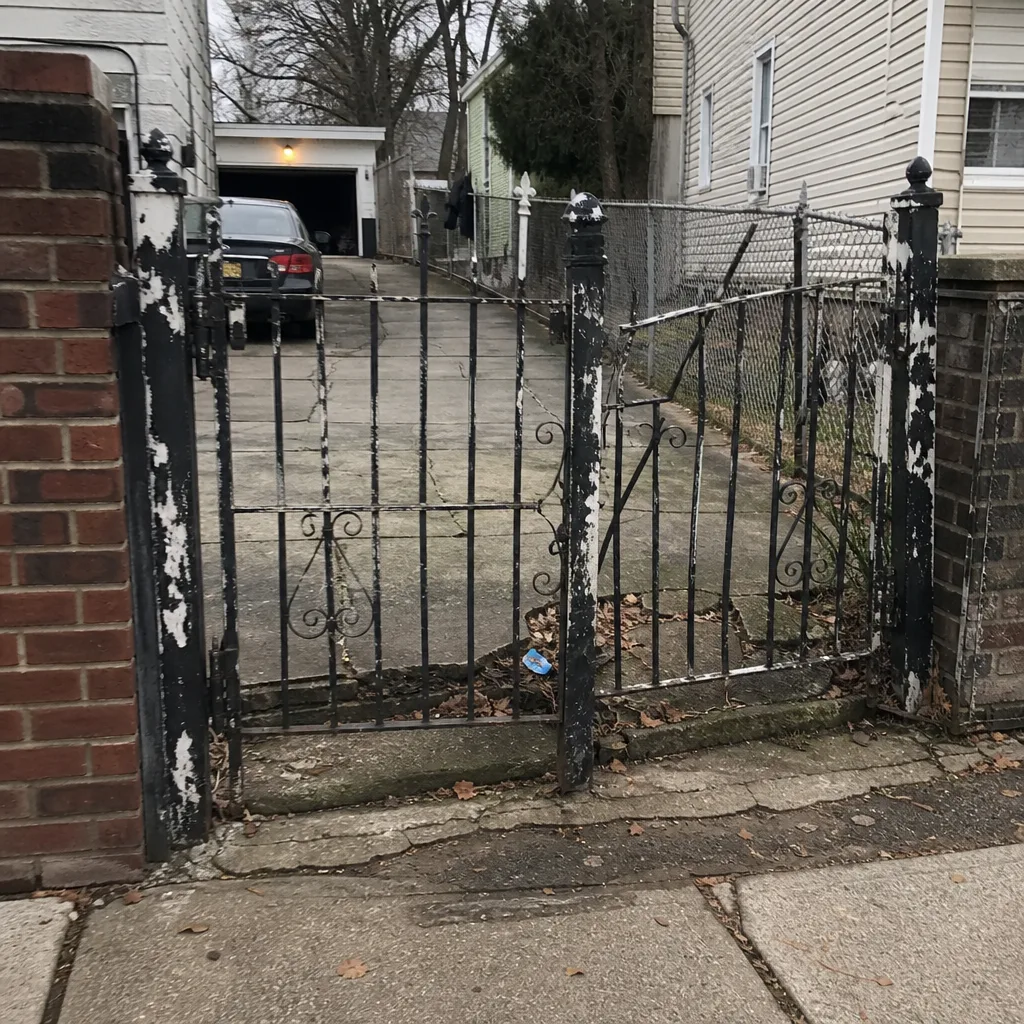 Before
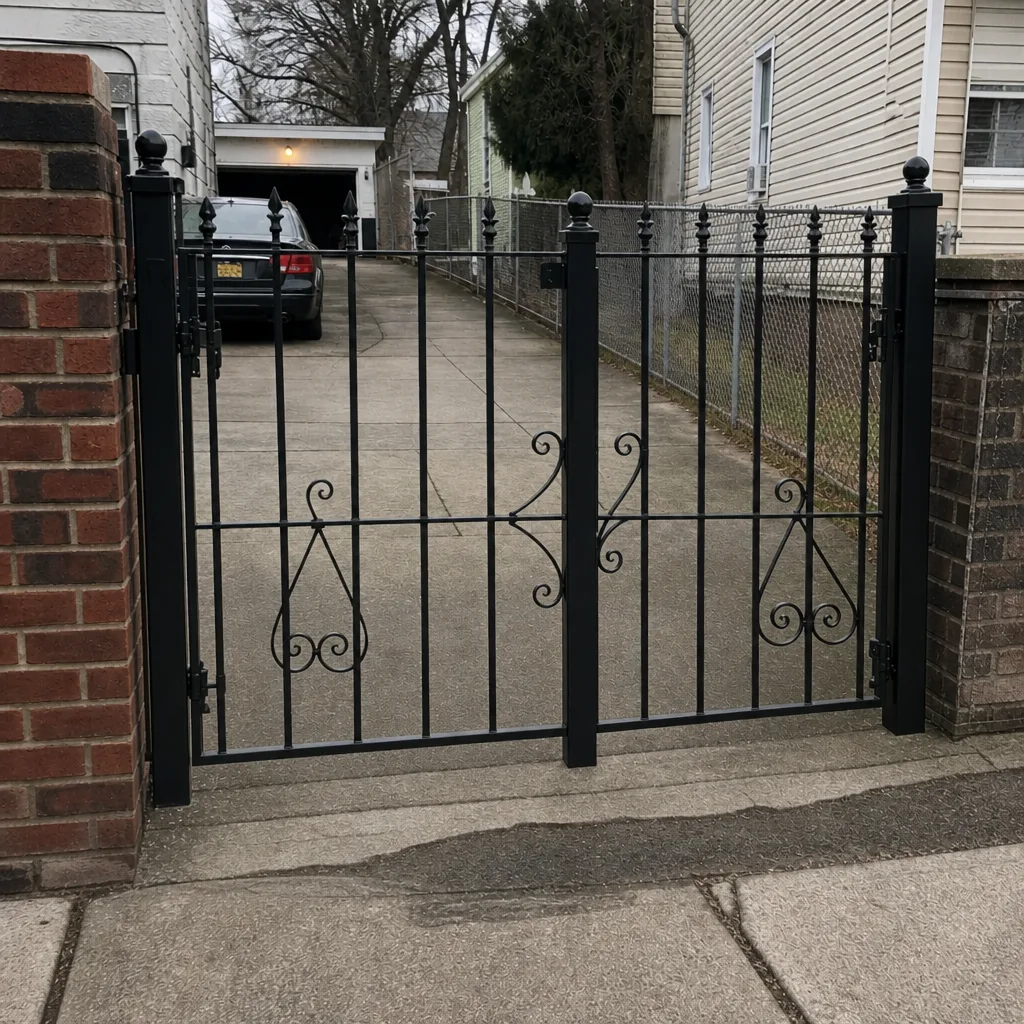 After
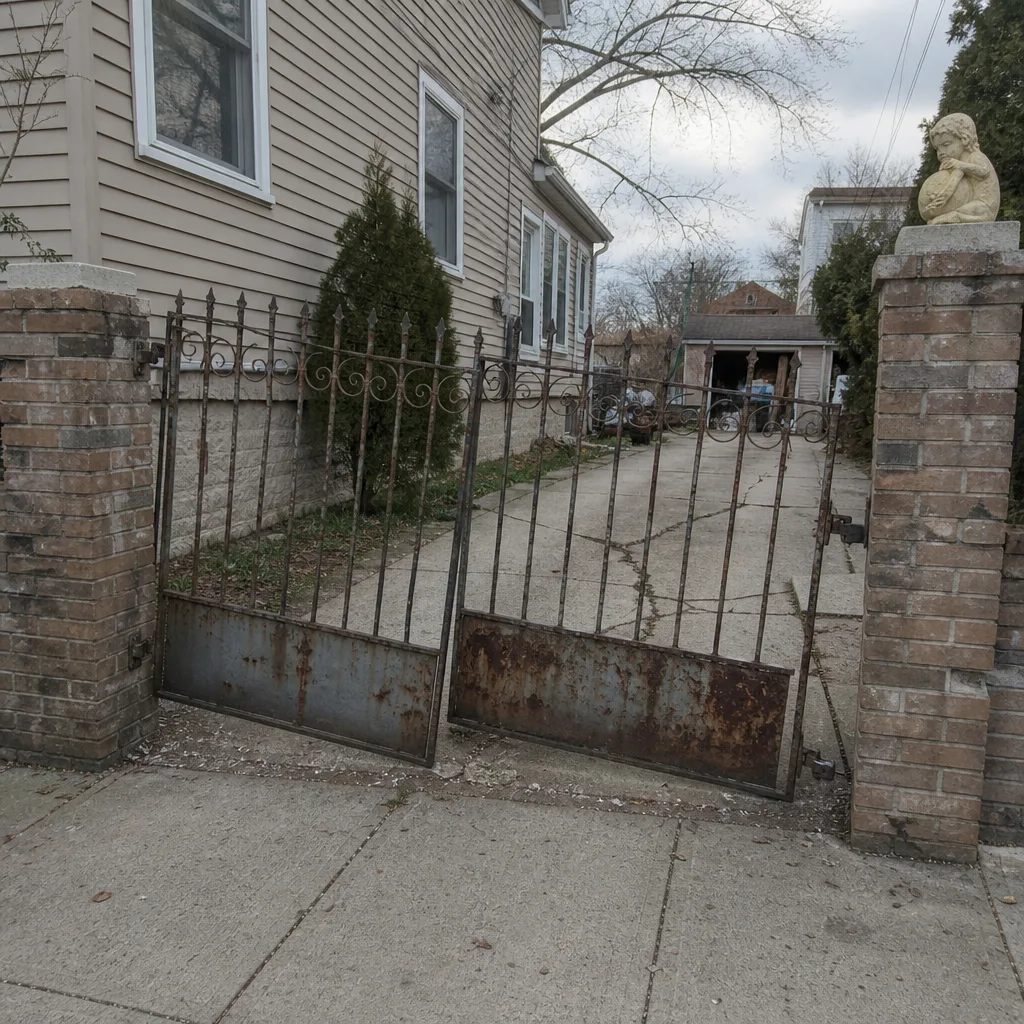 Before
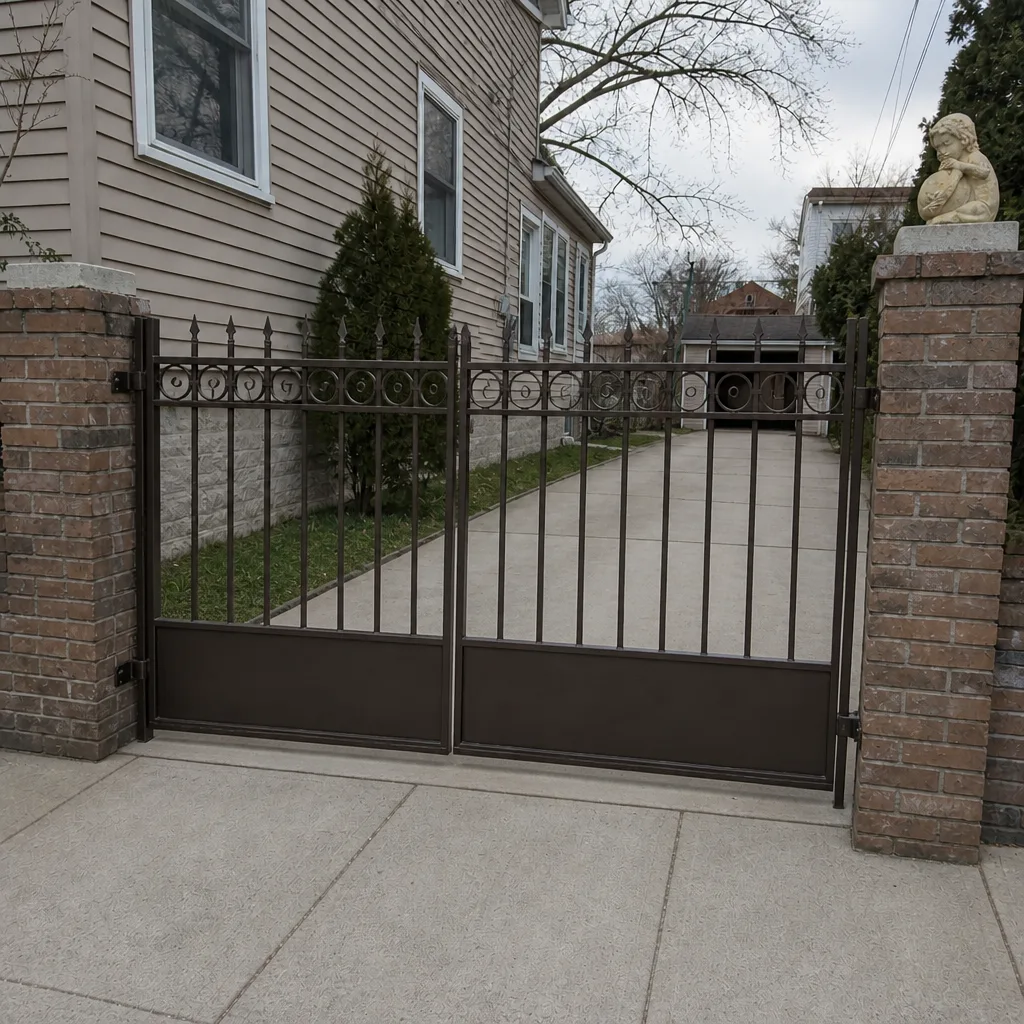 After
When to Call a Professional
Call a professional when the symptom is in Tier 3: a leaning post or pier, a gate off its track, sparking or burning smells at the operator, a gate that reverses on its own, or a safety feature that doesn’t work. Don’t wait on those. Call when a Tier 2 problem shows up too, like grinding, sagging or slowing travel, because those are exactly the fixes that cost less when caught early. And call when you genuinely can’t tell which tier it is. That’s not indecision, it’s the right reason.
Gate Repair Jersey City offers free estimates in Jersey City. We work on manual gates, electric gate repair and full installation, and our technicians have up to 15 years of experience across nine major gate and operator brands. Call (855) 701-9639. We answer 24/7. Fast dispatch from 7am to 7pm, Sunday through Friday.
Frequently Asked Questions
A gate post or masonry pier that’s leaning or shifting is the most serious warning sign, because the gate can pull free of its mounting and fall. Close the gate, keep people and vehicles clear, and call a technician. A gate that moves on its own or reverses unpredictably is equally a stop-now problem.
No, but it does need a repair soon, not a repair someday. Grinding usually means a bearing, hinge or roller is failing, and every cycle wears the parts around it. Left long enough, a small fastener or hinge job turns into track, post or operator work. Schedule a visit and describe the noise and when it’s worst. Call (855) 701-9639 for an exact quote; estimates are free.
Watch its behavior over a week. Slower travel, inconsistent stopping points, reduced remote range and stalling at the same spot are the behavioral signs of an electric gate problem before anything looks wrong. Test the safety feature by putting a blocking object in the path while a second person runs the controls. If it doesn’t stop and reverse, stop using the gate and call a technician.
Yes. Jersey City’s wet winters and hot, humid summers expand and contract hinges, rollers, tracks and anchors through seasonal cycles, so a gate that’s perfect in July can bind in January. Older brownstone buildings add masonry piers that can crack, spall or lean, which no gate adjustment can fix. Both are reasons to check the gate and its mounting each season.
A simple hinge or roller on a manual gate is within reach for some homeowners, but a powered gate is not. The electrical side of a powered gate involves mains power and motor controls that can cause serious injury if worked on by someone without training. Heavy panels and gates that can come off a track also pose a crushing risk. When in doubt, bring in a gate technician.
Almost never. A gate problem that involves friction, wear or a failing anchor gets worse with use, not better. The one exception is a cosmetic noise that fades with weather change, which is why Tier 1 signs are worth watching for a few weeks. Any symptom that’s getting worse each week is a call for service.
The Bottom Line
Every gate warning sign fits into one of three tiers, and knowing which one saves you money and grief. Tier 1 is watch and note. Tier 2 is schedule soon, because grinding, sagging and slowing travel get more expensive the longer they run. Tier 3 is stop using the gate, because a leaning post, a gate off its track, sparking wiring or a gate that reverses on its own can hurt someone. Listen for the mechanical signs, test the safety feature on any powered gate, and describe the problem clearly with photos so the right parts arrive the first time. A gate in Jersey City is often the first thing people see and the last line of security on the property. Treat the warning signs as information, not noise, and you’ll keep the gate working and the repair small.
Call Gate Repair Jersey City at (855) 701-9639 for a free estimate. We answer 24/7. Fast dispatch from 7am to 7pm, Sunday through Friday.
Written by the team at Gate Repair Jersey City.