
Last updated November 15, 2026
 Wrought iron
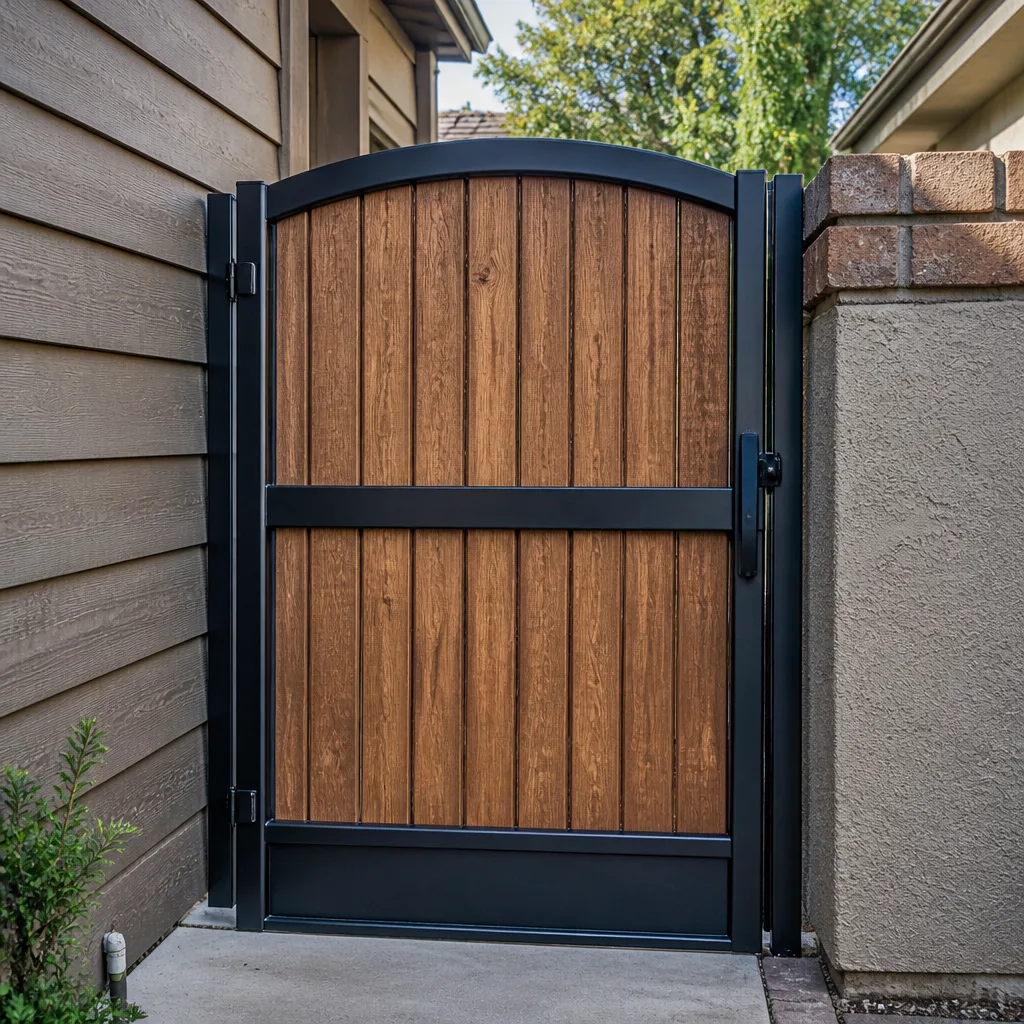 Wood & steel frame
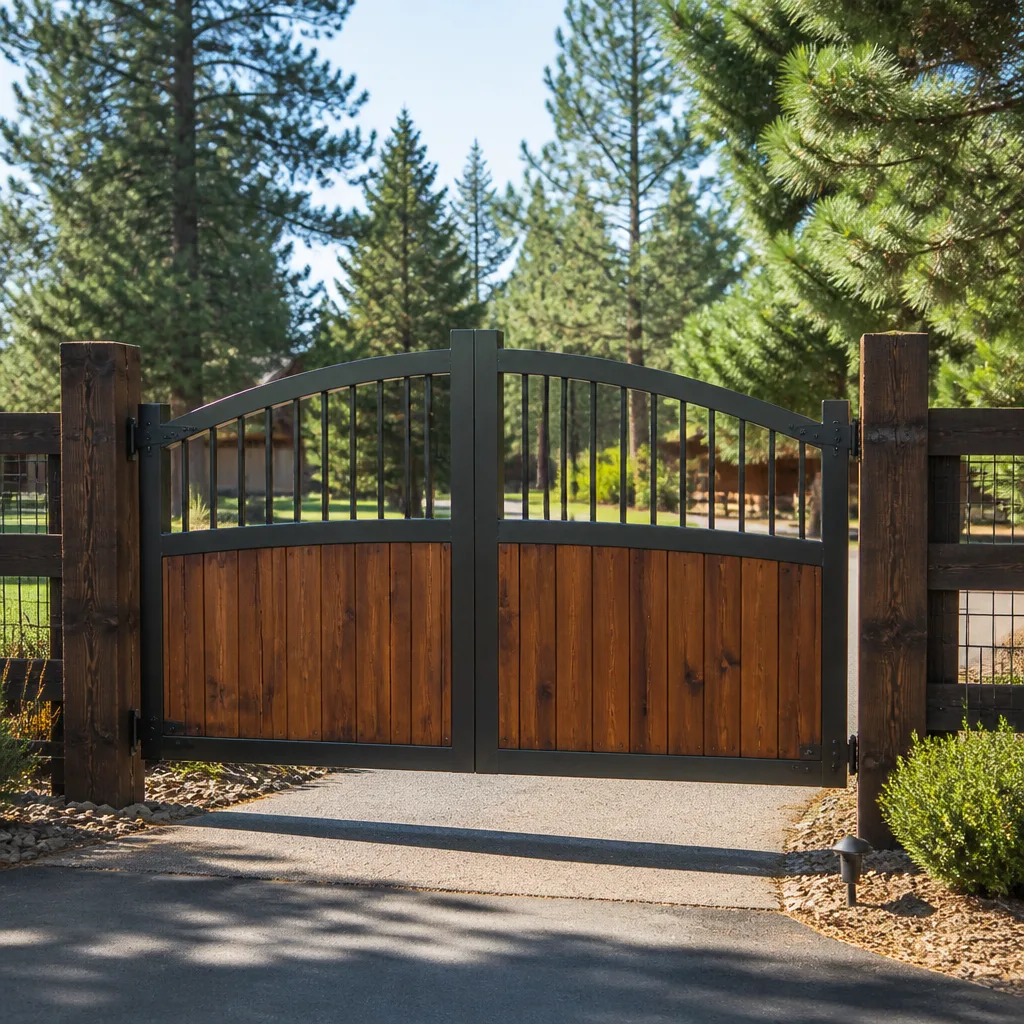 Farm & ranch
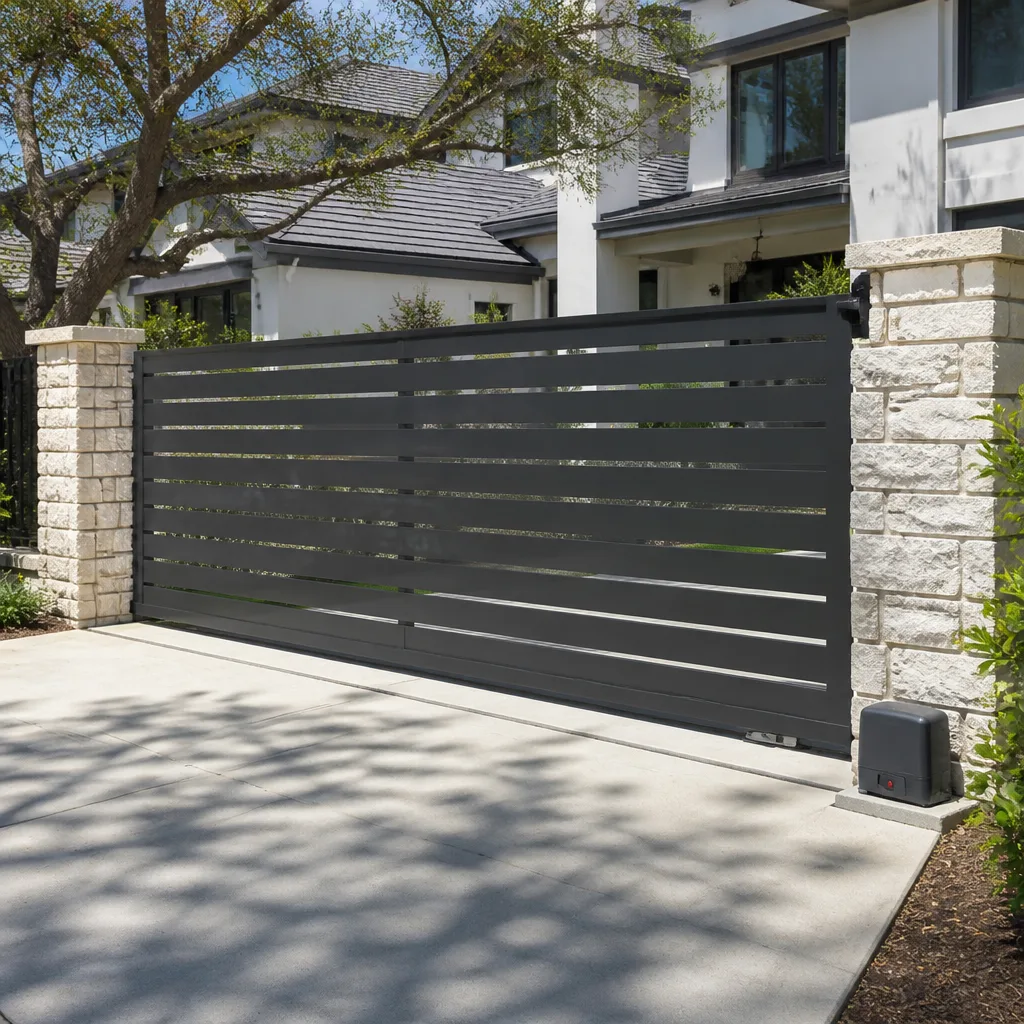 Sliding driveway gates
 LiftMaster operators
Free on-site gate assessment - hinges, posts, and your LiftMaster or Nice gate operator checked before anything is quoted
The assessment is free and the quote is the invoice.
Get your free estimateGate Repair Maintenance Checklist for Jersey City Homeowners
The number-one maintenance mistake gate owners in Jersey City make isn’t skipping lubrication. It’s lubricating the wrong components with the wrong product and speeding up the wear they were trying to prevent. Spray a solvent-heavy lubricant onto a rubber safety edge or a nylon roller and you don’t protect it, you soften it, and every bit of grit that blows down the block sticks to the residue. A checklist built around generic parts makes this worse, because it treats a rarely used warehouse gate and a brownstone pedestrian gate as the same machine. They aren’t. This guide organizes inspections by gate type and how often you actually use the gate, so you check what matters in Jersey City and skip what doesn’t.
Quick Answer
A useful gate maintenance checklist starts with how the gate is used, not a generic parts list. Walk the full travel path and look for binding, listen to the operator, test every safety device, and lubricate only the specific moving parts with a product matched to that material. Check hinges, posts, and anchors more often during freeze-thaw months. Document each pass so a technician can diagnose faster when something fails.
Styles & brands we work with
- Wrought iron
- Wood & steel frame
- Farm & ranch
- Sliding driveway gates
- LiftMaster operators
Table of Contents
- Start With How You Use the Gate
- The Lubrication Matrix: Right Product, Right Material
- Electrical Checks for Automated Gates
- Structural Points Hiding Behind Decorative Ironwork
- Winter and Freeze-Thaw Adjustments
- What to Document on Every Inspection Pass
- A Numbered Walkthrough You Can Follow
- Common Mistakes to Avoid
Start With How You Use the Gate
Two gates of the same age and brand can wear in completely different ways depending on traffic. Before you inspect anything, decide which category your gate falls into. That decision tells you what to check first and how often. A typical Jersey City setup falls into one of three patterns, and each one has its own failure points.
Pedestrian-first gates are the swing gates on brownstone and row-house frontages where people walk through several times a day and a vehicle almost never does. The operator, if there is one, runs short cycles constantly. The wear concentrates on the latch, the hinge closest to the latch, and the pedestrian safety sensors, because the gate never gets a long rest between cycles.
Vehicle-first gates are the driveway and side-lot gates where a car enters once or twice a day and pedestrians rarely use the gate. Cycles are fewer but heavier. The wear lands on the operator’s motor and gearbox, the chain or arm, and the vehicle loop detector, because each cycle puts real load on the drive.
Mixed-use gates carry both. They’re the hardest to keep ahead of, because a gate sized for occasional car access can suddenly be doing pedestrian duty all day. That’s common around the denser parts of Jersey City, where a single gate serves a small lot or a shared entrance.
Identify which pattern matches your gate, then read the sections that follow in that order. When the gate later needs professional attention, an accurate answer to “how often is it used, and by whom” is the first thing we ask, because it changes the diagnosis. If you’re not sure which category fits, gate repair starts with exactly that conversation.
The Lubrication Matrix: Right Product, Right Material
Lubrication is where well-meaning owners do the most harm. The goal is a thin, clean film on metal-on-metal contact points and nothing at all on rubber, nylon, or the track surfaces those parts ride on. Most spray lubricants sold for general home use are wrong for a gate: they’re thin enough to run, they carry solvents that degrade rubber seals and safety edges, and they leave a tacky film that traps grit. Grit on a roller or a hinge pin turns a smooth glide into a grinding paste.
Match the product to the material. This matrix covers the surfaces you’ll actually touch on a Jersey City gate:
- Steel and iron hinge pins and pivot points: a lithium or moly grease applied sparingly with a brush. It stays where you put it and doesn’t run onto the surrounding ironwork.
- Sliding-gate tracks and rollers: a dry-film or silicone-based lubricant, wiped on thin. Never grease a track that’s open to the weather, because it collects grit and dirt fast.
- Chains and chain guides: a chain-specific lubricant, applied to a moving chain, then wiped so excess doesn’t fling onto nearby surfaces.
- Rubber safety edges, seals, and weather stripping: nothing at all. These get cleaned, not lubricated. A general spray softens the rubber and can dull the edge’s response.
- Nylon and plastic bushings: a dry silicone spray at most, and only if the manufacturer calls for it. Most nylon bushings are designed to run dry.
- Locks, latches, and key cylinders: a graphite or dedicated lock lubricant, never a general spray that attracts dust into the mechanism.
Apply after a cleaning pass, not before. Wipe the surface down first, let it dry, then apply the right product to the right spot. Two clean contact points with the right film beat a wet coat of the wrong product every time. If you’ve already coated a safety edge or a rubber seal, wipe it down and leave it bare.
Electrical Checks for Automated Gates
An automated gate is a machine with a control board, and that board is where most “the gate stopped working” calls begin. You can catch the common failures early with a few simple tests that don’t require opening the control enclosure. Leave anything inside the control box to a trained technician, since line voltage and stored capacitor charge are genuinely dangerous.
Run these checks on a schedule that matches your gate’s use:
- Test the safety edges and sensors. With the gate mid-travel, interrupt the beam or press the edge. The gate should stop and reverse. If it doesn’t, stop using the operator and get it looked at, because that’s a safety failure before it’s a convenience one.
- Test the limit switches. Open and close the gate fully and watch where it stops. It should stop at the same points every time. A gate that overshoots, stops short, or reverses at the end of travel usually has a limit switch that’s drifted or a cam that’s slipped.
- Test the loop detector. For a vehicle loop, drive a car onto the loop and confirm the gate holds open or won’t close on it. A loop that’s stopped detecting is easy to miss until the gate closes on a bumper.
- Check the backup battery. If your operator has battery backup, test it the way the manufacturer describes, usually by cutting AC power briefly and watching the gate cycle once. A weak backup battery is what turns a brief outage into a locked-in gate.
- Inspect the photo-eye alignment. Clean the lenses, then confirm the beam isn’t obstructed by a shifted post or a bent bracket. Misalignment is common after a good freeze.
Operators from Linear, Viking, DoorKing, and Ghost Controls all use slightly different control logic, so use the manual that came with yours for the exact test sequence. What matters is that every safety device is tested on a schedule, not just when something feels wrong.
Structural Points Hiding Behind Decorative Ironwork
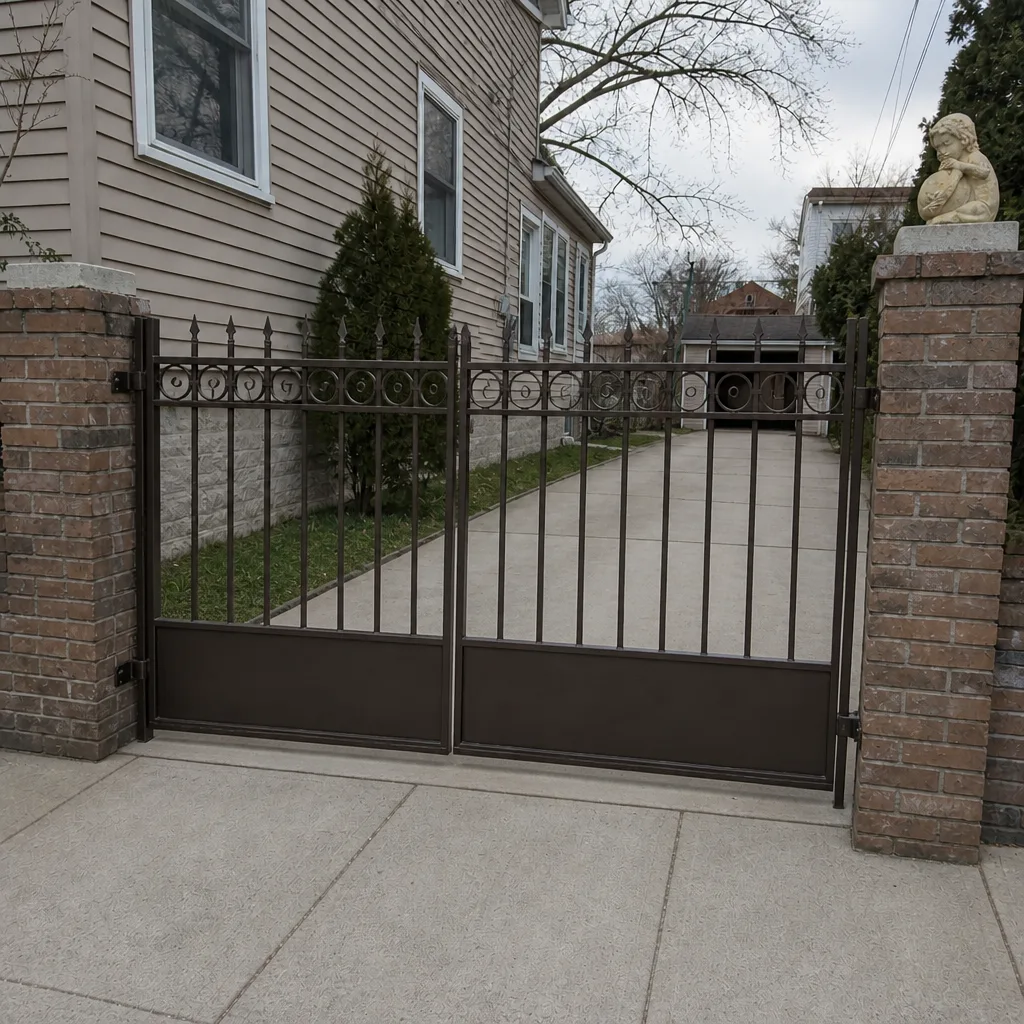
On Jersey City’s older row-house and brownstone frontages, a lot of a gate’s structure disappears behind ornamental ironwork. That’s exactly where problems start and where nobody looks. The decorative scrollwork and pickets hide the gate’s frame, the hinge plates, the post anchors, and the welds that hold the assembly together.
Work through these structural points with a flashlight, on every pass:
- Post anchors and base plates: look at the base of each post where it meets the ground or wall. Rust weeping, loose bolts, or a hairline crack in the surrounding masonry all point to movement.
- Hinge plates behind the scrollwork: reach behind the decorative work and feel for loose bolts and cracks at the weld. A hinge that’s separating from the frame usually starts with a small crack you can only find by hand.
- Frame welds: check the corners and joints of the leaf frame, not the decorative facing. Impact damage and fatigue show up on the structural members long before the ornament shows anything.
- Gate sag: open the gate partway and let go. A leaf that drifts down or won’t sit level through its swing is telling you the post or hinge has moved. Sag is usually structural, not a lubrication problem.
- Ground clearance and the track: confirm a sliding gate isn’t dragging, and that a swing gate clears the ground across the whole arc. Settlement is common on older lots around Jersey City, and a gate that cleared last season can start scraping.
Any crack in a structural weld, or a post that has clearly moved, is a stop-and-look situation. A heavy gate leaf that separates from its post is a crushing hazard, so don’t keep cycling it while you wait to decide.
Winter and Freeze-Thaw Adjustments
Freeze-thaw cycles put more stress on a gate than any other season, and they demand a more frequent structural pass. Water gets into gaps, freezes, expands, and shifts the posts and hinges a fraction each time it thaws. Across a winter that adds up, and the first sign is often a gate that suddenly binds or drags. Around Jersey City, the shift between hard freezes and mild thaws is exactly the pattern that loosens anchors and post footings.
Adjust your schedule to match:
- Check hinges and posts more often through freeze-thaw months, not just once at the start of the season. Re-check base plates and anchors after any hard freeze.
- Clear snow and ice from the travel path, and don’t force an operator to push through a drift or a frozen track. Letting a motor shove against ice is how gearboxes and arms get damaged.
- Keep the ground clear under a swing gate, so the leaf doesn’t ride up on packed snow and lose its clearance.
- Re-test the limit switches and safety devices after the first freeze. Cold can stiffen rubber edges and shift a bracket enough to spoil photo-eye alignment.
- Mind the ice on steps and ramps near the gate, since the pedestrian path matters as much as the gate itself for anyone walking through a Jersey City frontage in winter.
In spring, do a full structural pass to catch what the winter moved. When the gate needs a professional look after a hard season, we handle both the mechanical and electronic sides of the work through electric gate repair.
What to Document on Every Inspection Pass
Documentation is the difference between a fast diagnosis and a slow one. When a gate fails, a technician who has good notes can often identify the fault before arriving, which means the right part shows up the first time rather than on a return visit. On a property with more than one gate, or with a system from Viking or DoorKing with specific control settings, those notes save real time.
Keep a simple log and record the same items on each pass:
- Date and how many cycles you estimate the gate ran since the last pass. A rough count is enough.
- Anything that changed: new noise, a different stopping point, a slow response, a reversing gate.
- The safety-device test results: which ones reversed correctly and which didn’t.
- The structural findings: loose bolts, cracks, sag, or a post that’s moved.
- What you lubricated and with which product, so you don’t double-apply or mix products.
- The make and model of the operator and any control-board settings, photographed once so you have it when you need it.
A phone photo of the operator label, the control board, and the post anchors is the fastest documentation you can do. If you’re ever unsure whether a finding is serious, describe it and call us. We can usually tell from those notes whether it’s a routine adjustment or something that needs a visit.
A Numbered Walkthrough You Can Follow
Here’s the whole checklist in order, from opening the gate to writing it down. Run it in this sequence so you don’t miss a step that depends on the one before it.
- Clean the travel path first. Clear debris, grit, and ice from the ground and the track before testing anything.
- Walk the full open-and-close cycle by hand if the gate allows it. Feel for binding, listen for grinding, and watch for sag.
- Inspect the structural points behind the ironwork: anchors, hinge plates, welds, ground clearance.
- Test every safety device with the gate mid-travel: edges, sensors, loops, and the emergency stop.
- Check limit switches by cycling the gate fully and confirming it stops in the same place every time.
- Test the backup battery using the manufacturer’s procedure.
- Clean and lubricate the specific metal contact points with the correct product. Wipe on, don’t spray wet, and leave rubber and nylon bare.
- Re-test the full cycle after lubrication to confirm nothing changed.
- Write down everything in your log, and photograph the labels and anchors while you’re there.
Run the full walkthrough at least once a season and the safety tests more often. It takes half an hour on a single gate and catches most of what would otherwise turn into a repair call.
Common Mistakes to Avoid
- Spraying general lubricant on safety edges and rubber seals. The solvents soften the rubber and leave a tacky film that attracts grit. Clean those edges instead and leave them bare.
- Greasing an exposed sliding track. Grease on a weather-exposed track turns into a grinding paste. Use a thin dry or silicone film on that surface instead.
- Forcing the operator against ice, snow, or a stuck leaf. A motor that keeps shoving against an obstruction is how gearboxes, arms, and chains get damaged on a Jersey City winter gate.
- Skipping the safety-device tests. Testing only when the gate “acts up” means a failed safety edge or loop detector goes unnoticed until it matters.
- Ignoring the parts behind decorative ironwork. An anchor bolt or hinge plate can be separating from the post, hidden from view, while the gate’s front looks fine.
- Not writing anything down. Without a log of what changed and when, every diagnosis starts from scratch, and a technician has to work it out the slow way.
- Assuming a moving gate means a healthy gate. A gate can cycle every day while a post has shifted or a safety sensor is misaligned. Movement isn’t proof of condition.
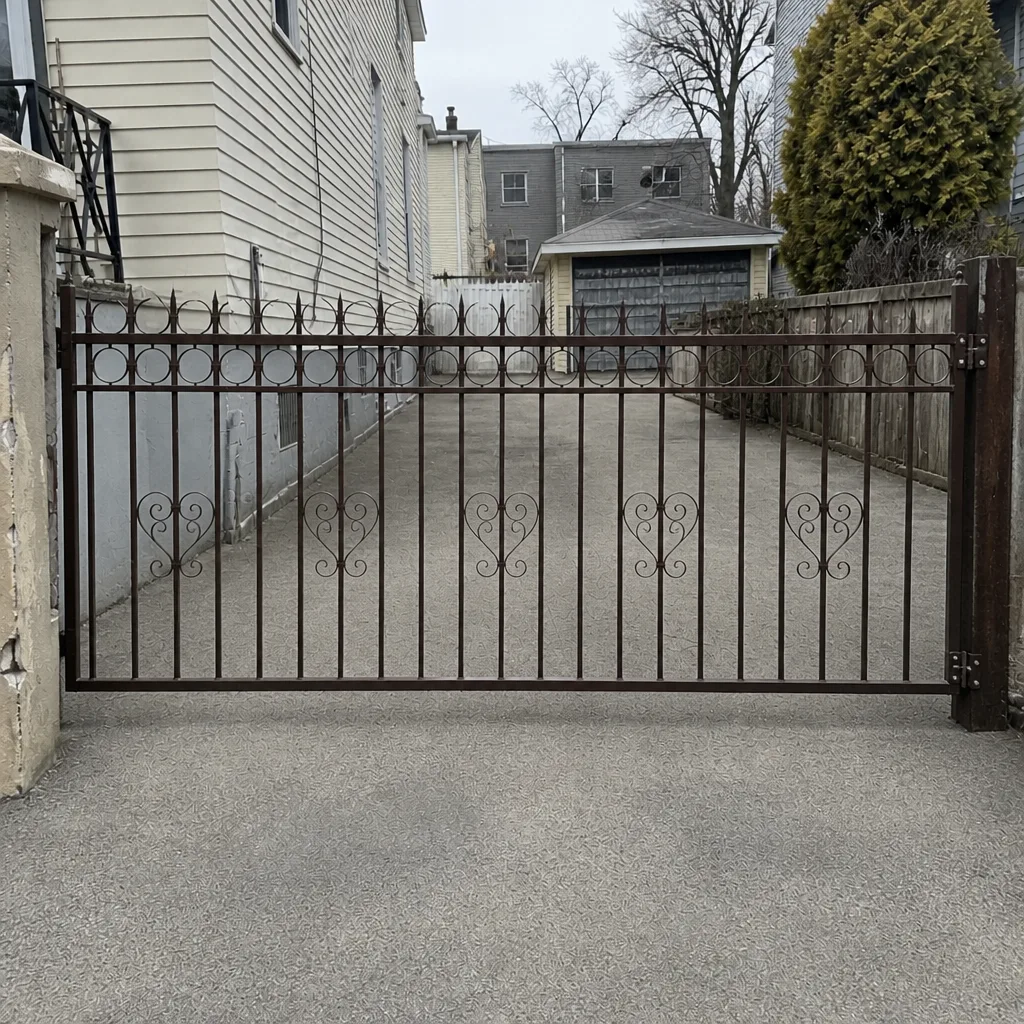
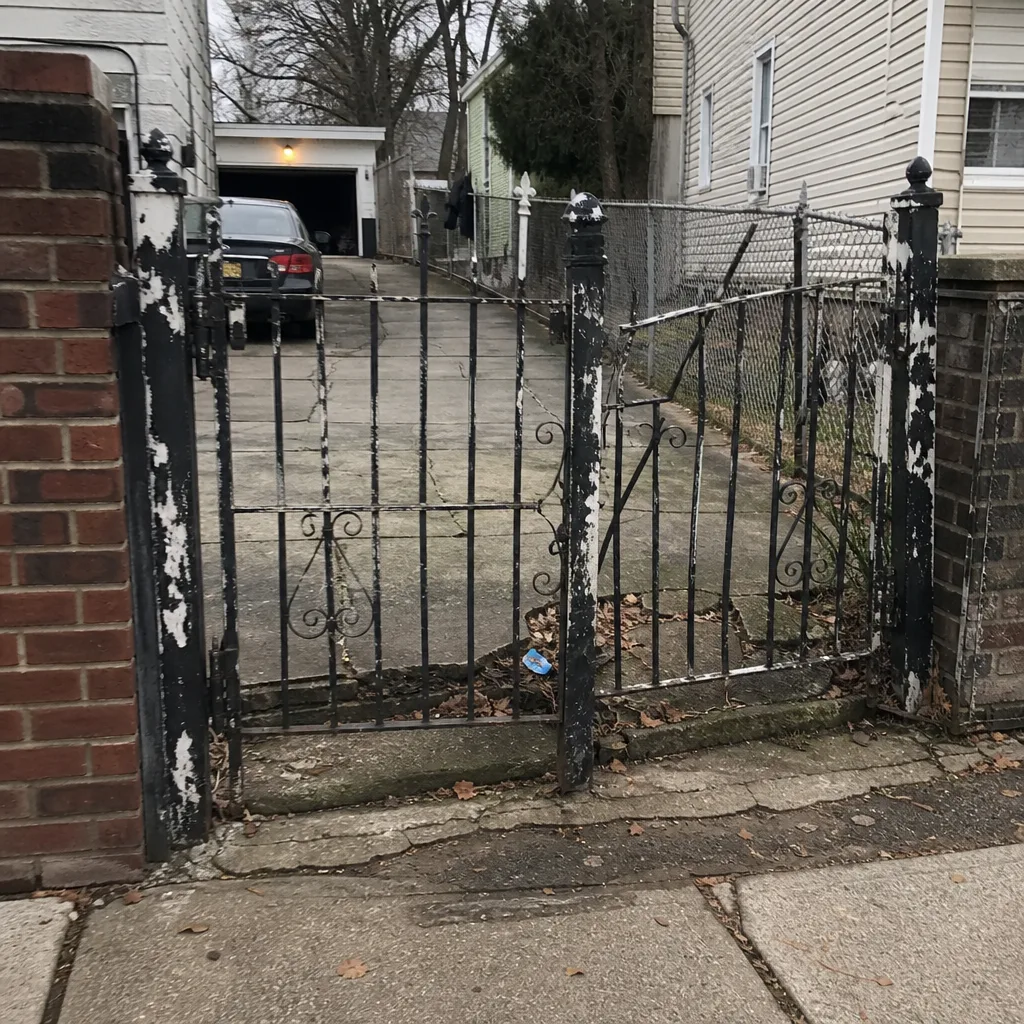
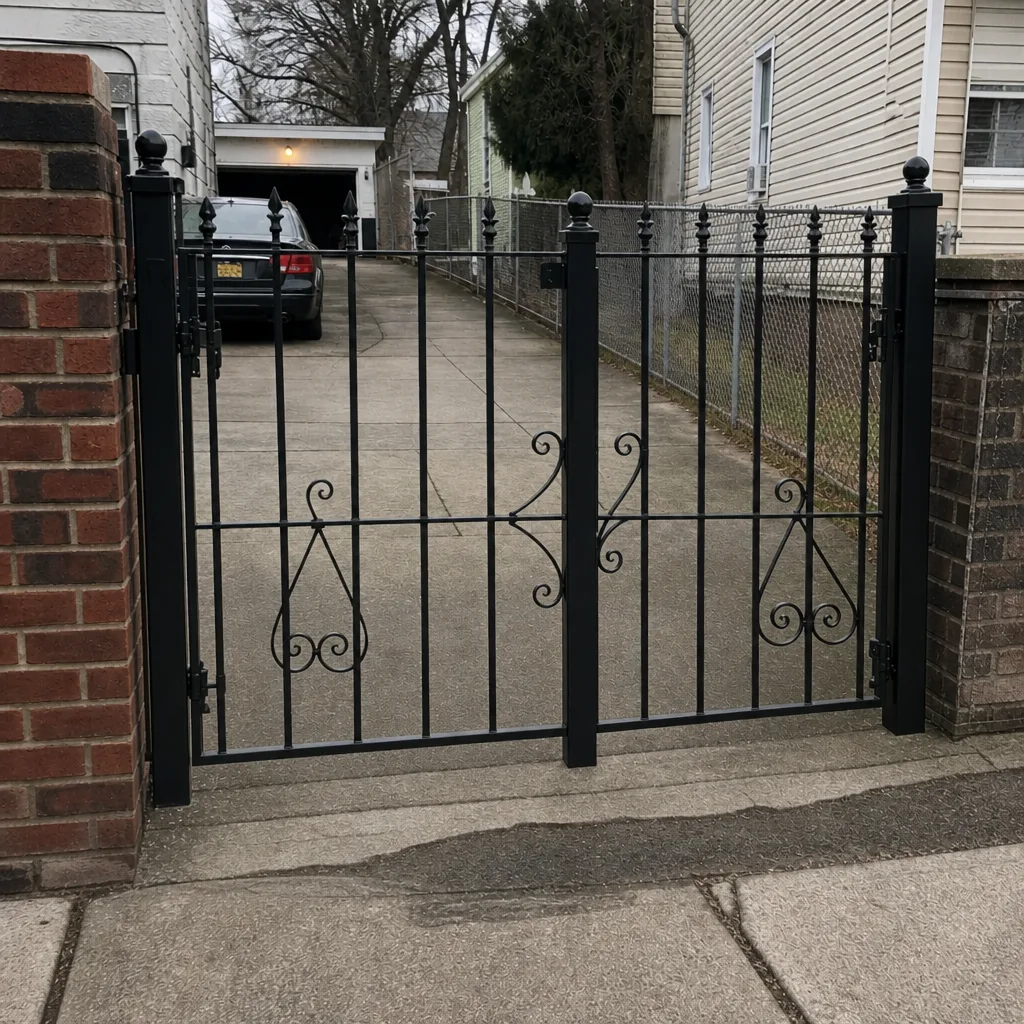
See the difference
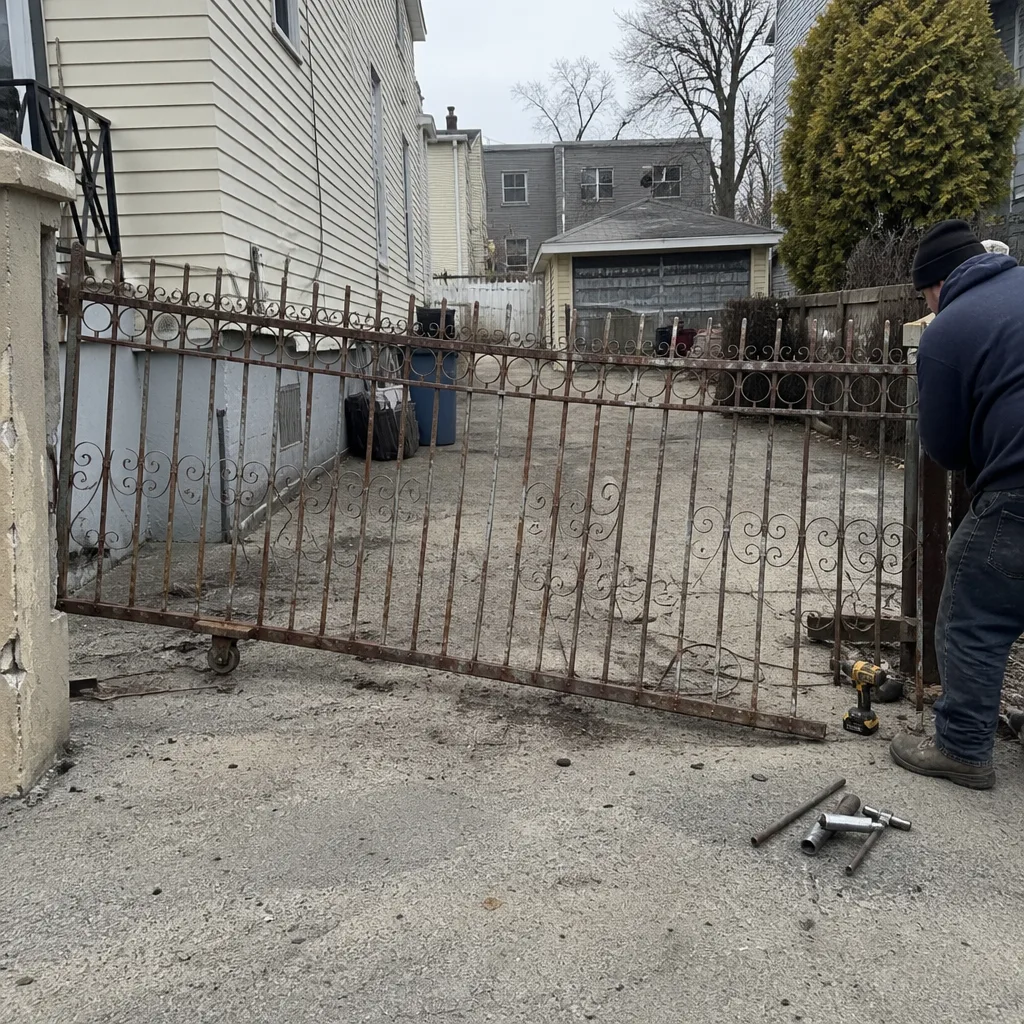 Before
 After
 Before
 After
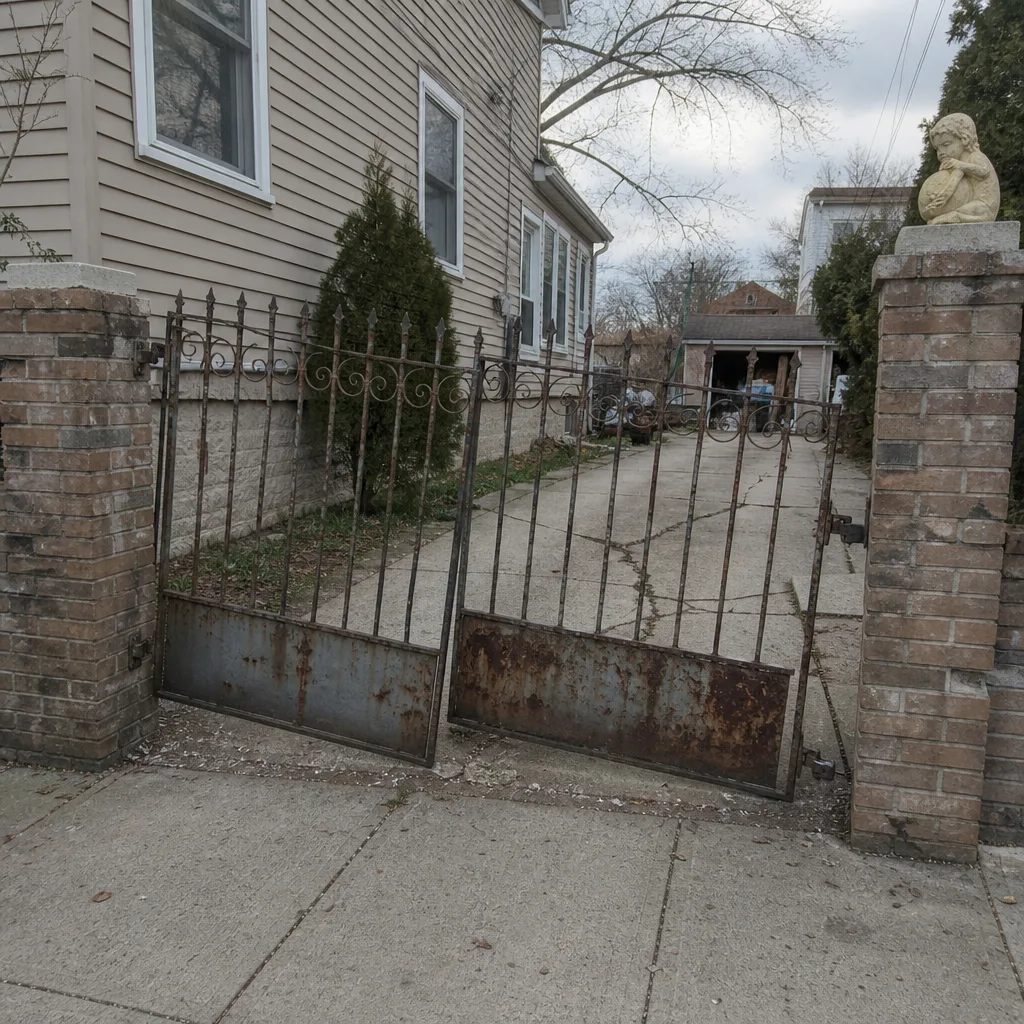 Before
 After
When to Call a Professional
Some findings are routine and some are stop-and-call. Call a trained technician when a gate leaf has any crack in a structural weld, when a post or anchor has clearly moved, or when the gate sags or drags in a way that lubrication doesn’t fix. Call if a safety edge or loop detector fails its test, if the operator overshoots or reverses unexpectedly, or if you hear grinding from the motor or gearbox. A heavy leaf that could separate from its post is a crushing hazard, and line voltage inside the control box is dangerous to work on without the right training. In any of those cases, stop cycling the gate and get it looked at. If it’s an electric gate that’s stuck, we can take a look. Gate Repair Jersey City offers free estimates in Jersey City – call (855) 701-9639.
Frequently Asked Questions
A few times a year is usually enough on a pedestrian gate, and once or twice a season on a heavily used one, matched to your inspection pass. What matters more than frequency is the product: use the right lubricant on hinge pins and pivots, a thin dry film on exposed tracks, and nothing at all on rubber seals or nylon bushings. Over-lubricating with the wrong spray does more harm than skipping it.
Before calling anyone, test the safety devices and confirm the operator has power. If a safety edge, sensor, or loop has failed, the operator won’t cycle for safety reasons, and that’s often the cause of a gate that appears dead. Don’t open the control box yourself, since line voltage and stored capacitor charge are dangerous. If the safety tests don’t explain it, a gate specialist should diagnose it. Call (855) 701-9639 for a free estimate on the repair, with fast dispatch from 7am to 7pm, Sunday through Friday.
They loosen post anchors, shift hinge plates, and misalign sensors as water freezes and thaws in gaps. The shift is small each time but adds up, and the first sign is usually a gate that suddenly binds or drags. Check hinges, posts, and base plates more often through the freeze-thaw months, and re-test the safety devices after the first hard freeze.
Keep a simple log that records the date, an estimate of cycles run, anything that changed, and the test results for each safety device. Photograph the operator label, the control board, and the post anchors once. Those notes let a technician diagnose faster when something fails, often identifying the fault before arriving.
We service a broad range of gate systems, including Linear, Viking, DoorKing, and Ghost Controls, along with LiftMaster, FAAC, BFT, Elite, and Mighty Mule. Because we work across competing manufacturers, we recommend based on your system rather than on what parts happen to be convenient. If you’re not sure what you have, photograph the operator label and call us.
It depends on the finding, not the age. A cracked structural weld, a moved post, or a failed operator can often be repaired and reset, while a leaf frame that’s rusted through or a post footing that’s given way may point to a new gate. A proper diagnosis before any quote tells you which one you’re facing. Call (855) 701-9639 for a free estimate – the price is set per job by the written estimate, quoted before any work starts.
For the broader picture of how we approach repairs and automated systems in this city, see our gate repair Jersey City page, and our Jersey City service overview covers the systems we handle most often.
The Bottom Line
A gate checklist works when it’s built around how your gate is actually used. Start by identifying whether it’s pedestrian-first, vehicle-first, or mixed-use, then check the failure points that pattern creates. Lubricate only metal contact points with the right product, keep rubber and nylon bare, and test every safety device on a schedule. Inspect the structure hiding behind decorative ironwork, tighten the winter schedule through freeze-thaw months, and write it all down. Those habits catch most breakdowns early and make every professional visit faster. When something needs a trained eye, call (855) 701-9639. We answer 24/7. Fast dispatch from 7am to 7pm, Sunday through Friday, closed Saturday, and free estimates are available.
Written by the team at Gate Repair Jersey City.